Red Velvet 2013
My updated tutorial on Step by Step Red Velvet.
In this updated tutorial I have included a few new techniques that will help
to speed up the process of decorating cakes.
Day 1
1. Bake cakes in three 9 inches cake pans.
(double batch-double your recipe and weight them equally)
2. Once the cakes are baked, let the cakes cool for 10 minutes, then turn them over and
wrap them with the cling plastic.
(wrap it twice-make sure all the sides are covered neatly-do not pull the wrap too tightly)
3. Keep them refrigerated.(not in the freezer)
4. Filling and Frosting
Prepare the cream cheese filling and frosting.
Put the cream in a stainless steel bowl and cover the top with the cling plastic.This will
ensure that the cream will be soft even after a night in the fridge.
Day 2
1. Take the cakes and the cream cheese out of the fridge and get ready to layer, frost and
decorate them.
2. Follow my step by step pictorial tutorial.
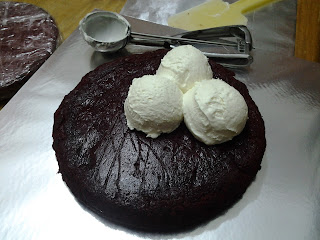
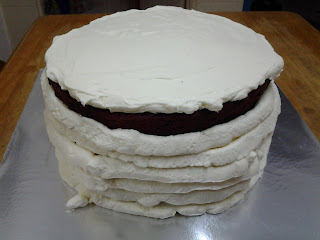
3. Do use the Ice cream scoop to help you get even layers of filling.
(The cake layers will look beautiful and even when you cut the cake later)
4.Note: At the beginning, I used 3 scoops but then decided that 4 is much better..all
the layers were given an equal amount of cream i.e 4 scoops per layer.
5. Use the scraper with holder (stainless steel) to help get super smooth cake.
Red Velvet with Cream Cheese...Yummy!


